A complete step‑by‑step tutorial on automating Hugo deployments to AWS S3 and CloudFront using GitHub Actions. No more manual uploads — just push your changes and let CI/CD handle the rest.
How to Auto‑Deploy a Hugo Blog to AWS Using GitHub Actions (Step‑by‑Step Guide)
In the previous blog posts we did the following:
- Created a blog post with Hugo
- Deployed the Hugo blog to AWS
For background, see:
Every time we add a new blog post or make configuration changes, we need to manually build the website and run a script (or the commands manually) to deploy the application to AWS.
This works, but it’s not ideal. We want deployments to happen automatically whenever we push new content to GitHub.
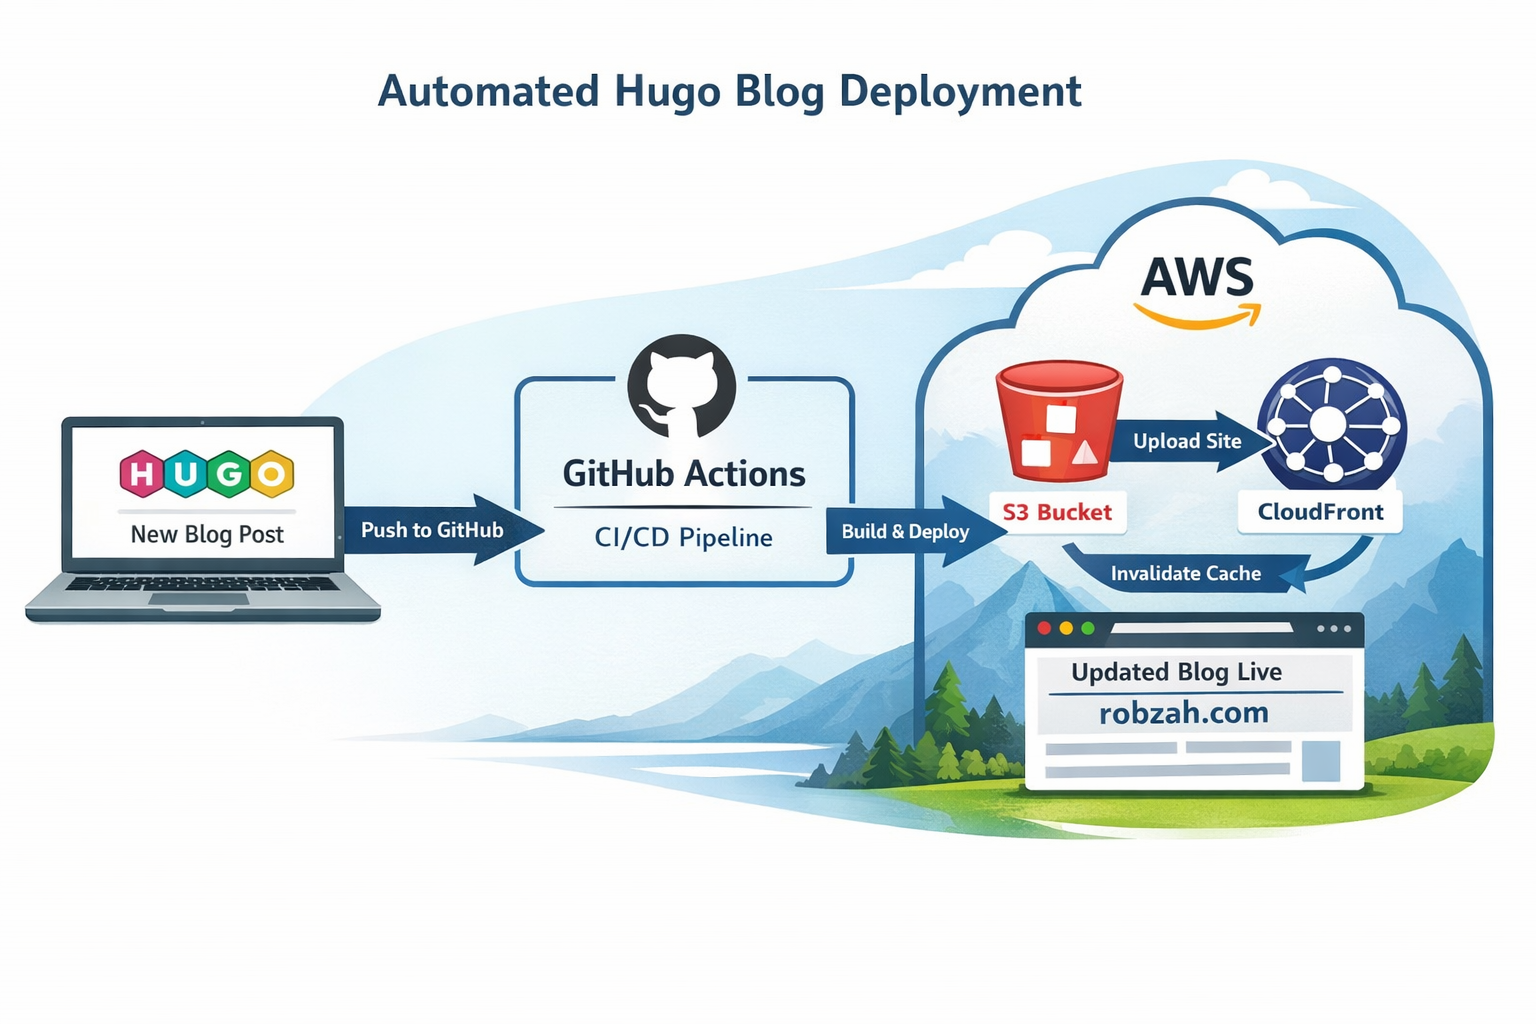
In this post, we’ll set up a CI/CD pipeline using GitHub Actions that:
- Builds the Hugo site
- Uploads it to S3
- Invalidates the CloudFront cache
- Makes your blog live within seconds
And we’ll do it step‑by‑step, with no missing pieces.
Prerequisites
Before starting, make sure:
- Your Hugo blog lives in a GitHub repository
- Your blog is already hosted on:
- S3 (static website hosting)
- CloudFront (CDN in front of S3)
If you followed my previous posts, you already have this.
Creating the IAM User (Step‑by‑Step)
We need an IAM user that GitHub Actions can use to deploy your site.
This user should have minimal permissions.
1. Create the IAM user
In the AWS Console:
- Open the AWS Console
- Search for IAM
- In the left menu, click Users
- Click Create user
- Enter a name:
hugo-deploy-user - Click Next
- Skip adding the user to a group
- Click Next again
- Click Create user
2. Create access keys
- Click the user you just created
- Go to the Security credentials tab
- Scroll to Access keys
- Click Create access key
- Choose Command Line Interface (CLI)
- Confirm and continue
- Copy:
- Access Key ID
- Secret Access Key
You will need these for GitHub.
AWS Best Practices (Why We Do It This Way)
🔐 Principle of Least Privilege
We only give the IAM user the permissions it absolutely needs:
- Upload files to one S3 bucket
- Invalidate one CloudFront distribution
This protects your AWS account.
🪪 Separate IAM users for automation
Never use your personal IAM user for CI/CD.
Automation users should be isolated and revocable.
🧹 Scoped CloudFront permissions
We explicitly restrict invalidations to a single distribution.
🪣 Avoid wildcard S3 permissions
We do NOT allow access to all buckets — only the one hosting your blog.
🔑 Rotate access keys
GitHub Actions supports multiple keys, so rotate them periodically.
IAM Policies (Copy/Paste Ready)
1. S3 Upload Policy
Replace YOUR_BUCKET_NAME:
{
  "Version": "2012-10-17",
  "Statement": [
    {
      "Sid": "AllowS3Upload",
      "Effect": "Allow",
      "Action": [
        "s3:PutObject",
        "s3:DeleteObject",
        "s3:ListBucket"
      ],
      "Resource": [
        "arn:aws:s3:::YOUR_BUCKET_NAME",
        "arn:aws:s3:::YOUR_BUCKET_NAME/*"
      ]
    }
  ]
}
2. CloudFront Invalidation Policy
Replace YOUR_AWS_ACCOUNT_ID and YOUR_DISTRIBUTION_ID:
{
  "Version": "2012-10-17",
  "Statement": [
    {
      "Sid": "AllowSpecificInvalidation",
      "Effect": "Allow",
      "Action": "cloudfront:CreateInvalidation",
      "Resource": "arn:aws:cloudfront::YOUR_AWS_ACCOUNT_ID:distribution/YOUR_DISTRIBUTION_ID"
    }
  ]
}
Where to attach these policies
- Go to IAM → Users
- Click your user
- Go to Permissions
- Click Add permissions
- Choose Attach policies directly
- Search for you created policies and check them
- Save and attach it
Adding AWS Credentials to GitHub (Step‑by‑Step)
This is where many tutorials skip steps — so here’s the full walkthrough.
1. Open your GitHub repository
Go to:
https://github.com/<your-username>/<your-repo>
2. Open the repository settings
Top menu → Settings
3. Open Secrets
Left menu → Secrets and variables → Actions
4. Add each secret
Click New repository secret for each:
AWS_ACCESS_KEY_ID → Your IAM access key
AWS_SECRET_ACCESS_KEY → Your IAM secret key
AWS_REGION → e.g. eu-west-1
AWS_S3_BUCKET → Your bucket name
AWS_CLOUDFRONT_DISTRIBUTION_ID → Your distribution ID
Where to find the CloudFront distribution ID
AWS Console → CloudFront → Distributions
Look in the ID column.
GitHub Actions Workflow Explained
GitHub Actions uses a special folder:
.github/workflows/
GitHub automatically scans this folder for .yml files and runs them.
This is why the file must be placed there.
Create the workflow file
Create:
.github/workflows/deploy.yml
Full workflow with comments
name: Deploy Hugo site   # Name of the workflow

on:
  push:
    branches: [ "main" ]   # Run this workflow whenever we push to main

jobs:
  deploy:
    runs-on: ubuntu-latest   # GitHub provides a Linux VM for the job

    steps:
      # Step 1: Download your repository code into the VM
      - name: Checkout code
        uses: actions/checkout@v4

      # Step 2: Install Hugo so we can build the site
      - name: Install Hugo
        uses: peaceiris/actions-hugo@v3
        with:
          hugo-version: 'latest'

      # Step 3: Build the Hugo site (output goes to /public)
      - name: Build site
        run: hugo --minify

      # Step 4: Configure AWS credentials so the VM can access AWS
      - name: Configure AWS credentials
        uses: aws-actions/configure-aws-credentials@v4
        with:
          aws-access-key-id: ${{ secrets.AWS_ACCESS_KEY_ID }}
          aws-secret-access-key: ${{ secrets.AWS_SECRET_ACCESS_KEY }}
          aws-region: ${{ secrets.AWS_REGION }}

      # Step 5: Upload the built site to S3
      - name: Sync to S3
        run: aws s3 sync public/ s3://${{ secrets.AWS_S3_BUCKET }} --delete

      # Step 6: Invalidate CloudFront cache so changes go live immediately
      - name: Invalidate CloudFront cache
        run: |
          aws cloudfront create-invalidation             --distribution-id ${{ secrets.AWS_CLOUDFRONT_DISTRIBUTION_ID }}             --paths "/*"
Deployment Flow Diagram
                ┌──────────────────────┐
                │   GitHub Repository  │
                └──────────┬───────────┘
                           │ Push to main
                           ▼
                ┌──────────────────────┐
                │   GitHub Actions     │
                │  (Build + Deploy)    │
                └──────────┬───────────┘
                           │ Builds Hugo site
                           ▼
                ┌──────────────────────┐
                │        S3 Bucket     │
                │   (Static Website)   │
                └──────────┬───────────┘
                           │ Upload files
                           ▼
                ┌──────────────────────┐
                │     CloudFront       │
                │ (Global CDN Cache)   │
                └──────────┬───────────┘
                           │ Invalidate cache
                           ▼
                ┌──────────────────────┐
                │     Updated Blog     │
                │     robzah.com       │
                └──────────────────────┘
Explanation of each section
name: This is just a label. It appears in the Github Actions UI.
on: Defines when the workflow runs. In this example it runs everytime it is pushed to the main branch. So when merging from your feature branch to the main branch it will run. Unless when you push directly to main, it will directly run.
jobs: A workflow can have multiple jobs. In this example we only have one (deploy), but you can think of having different jobs, like “tests”.
runs-on: Defines the virtual machine type. Github provides multiple different, like:
- ubuntu-latest
- windows-latest
- macos-latest
(ChatGPT tells me that Ubuntu is fastest and cheapest, I did not check this, so take this with a grain of salt).
steps: Each step runs in order
actions/checkout Downloads your code into the VM.
peaceiris/actions-hugo Installs Hugo.
hugo –minify Builds your site into the public/ folder.
aws-actions/configure-aws-credentials Logs into AWS using your GitHub secrets.
aws s3 sync Uploads your site to S3.
aws cloudfront create-invalidation Clears the CDN cache so your new blog post appears instantly.
Final Thoughts
With this setup:
- You write a blog post
- Commit and push
- GitHub builds and deploys automatically
No manual S3 uploads.
No CloudFront clicking.
No forgetting to rebuild the site.
Just clean, automated deployments — exactly how a Hugo blog should work.