Write your post introduction here. This text appears on the homepage as an excerpt.
Making Your macOS Terminal Beautiful
A step-by-step guide to setting up iTerm2, Oh My Zsh, and Powerlevel10k
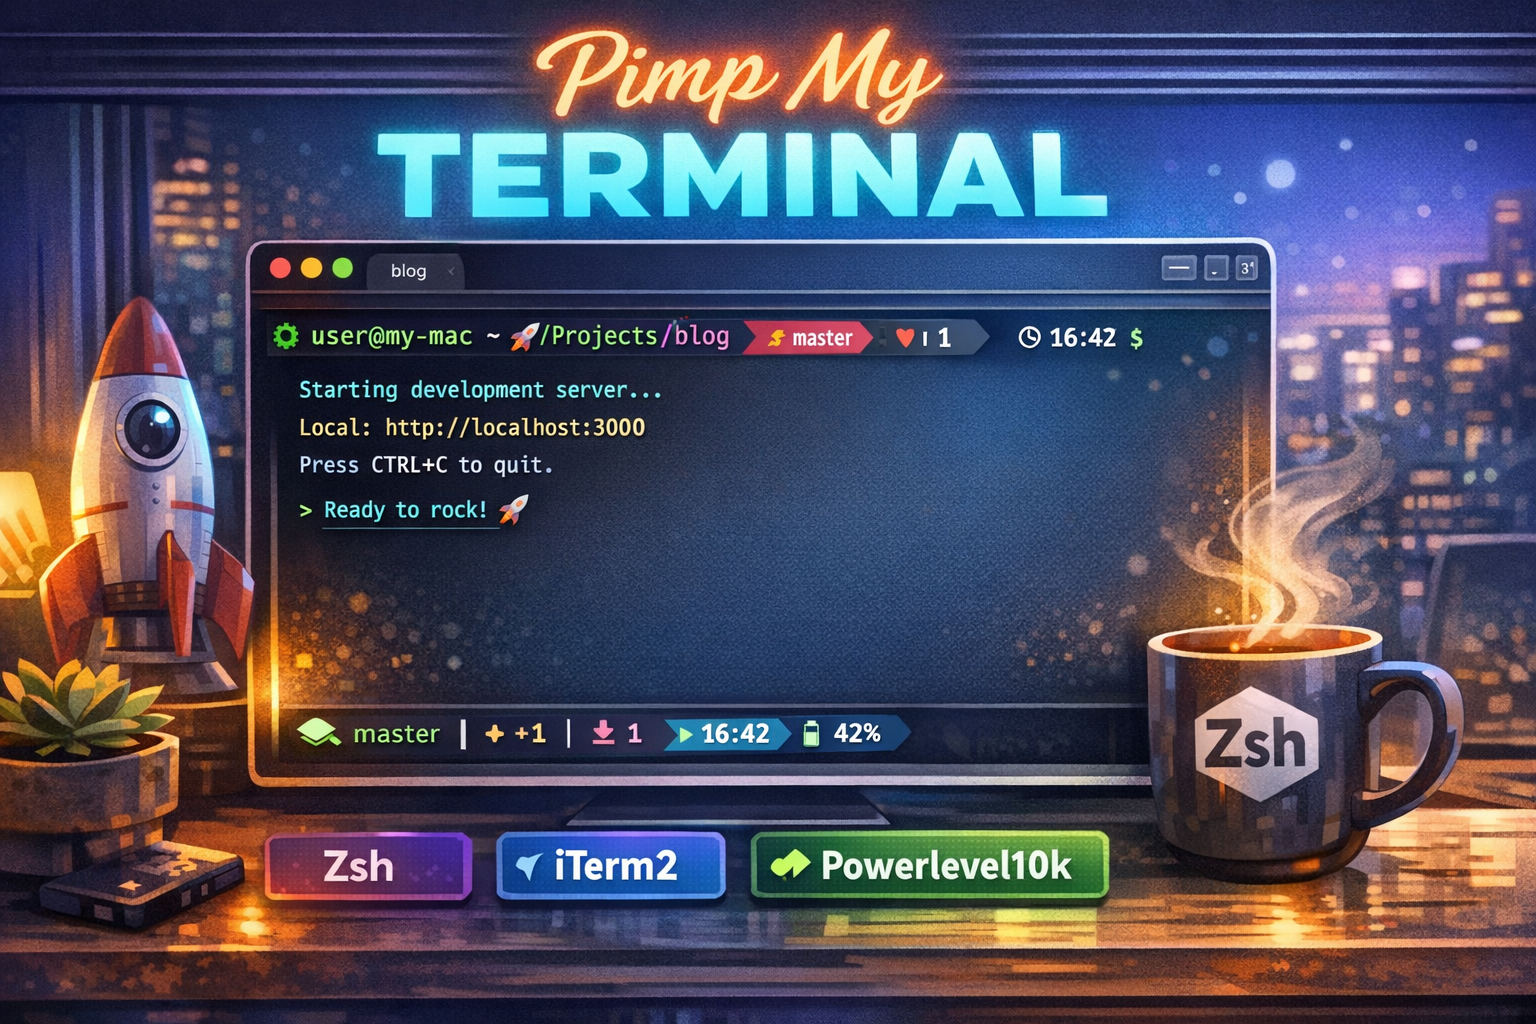
What We’re Building
By the end of this guide, you’ll have a terminal that looks great, works smart, and feels just as powerful as Windows Terminal — with tabs, profiles, autosuggestions, and a stunning prompt.
The stack:
- iTerm2 — a better terminal emulator
- Oh My Zsh — a shell framework
- Powerlevel10k — a beautiful, informative prompt theme
- MesloLGS NF — a font with icons and symbols
- zsh-autosuggestions + zsh-syntax-highlighting — quality-of-life plugins
Step 1: Install iTerm2
Go to https://iterm2.com and download the latest version. Drag it to your Applications folder and open it.
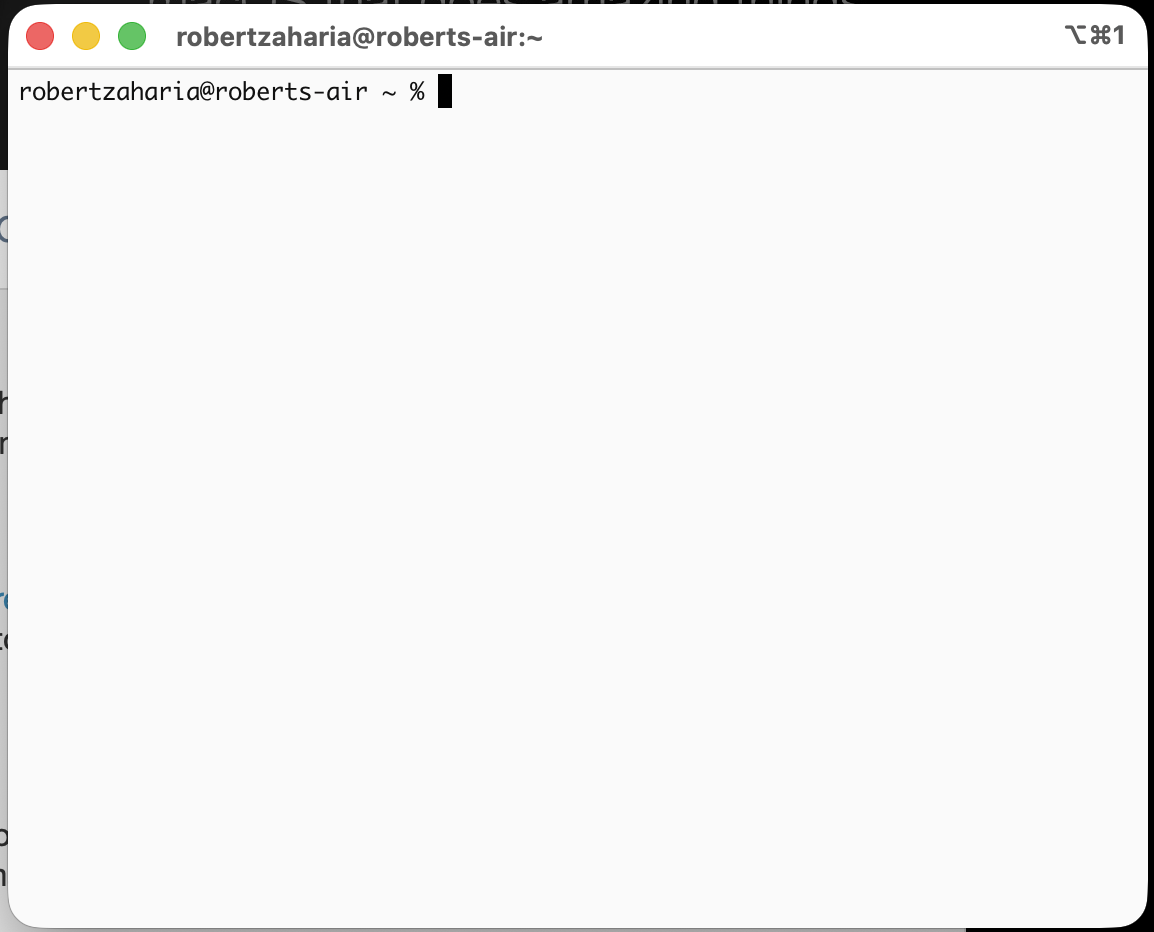
This is how iTerm2 looks immediately after installation: a clean default terminal window ready for theming.
Step 2: Install Homebrew (if you don’t have it yet)
Homebrew is the package manager for macOS. If you don’t have it yet, paste this in your terminal:
/bin/bash -c "$(curl -fsSL https://raw.githubusercontent.com/Homebrew/install/HEAD/install.sh)"
Follow the prompts. It may ask for your password and install Xcode Command Line Tools — that’s normal.
Verify it works:
brew --version
Step 3: Install Oh My Zsh
Paste this into your terminal:
sh -c "$(curl -fsSL https://raw.githubusercontent.com/ohmyzsh/ohmyzsh/master/tools/install.sh)"
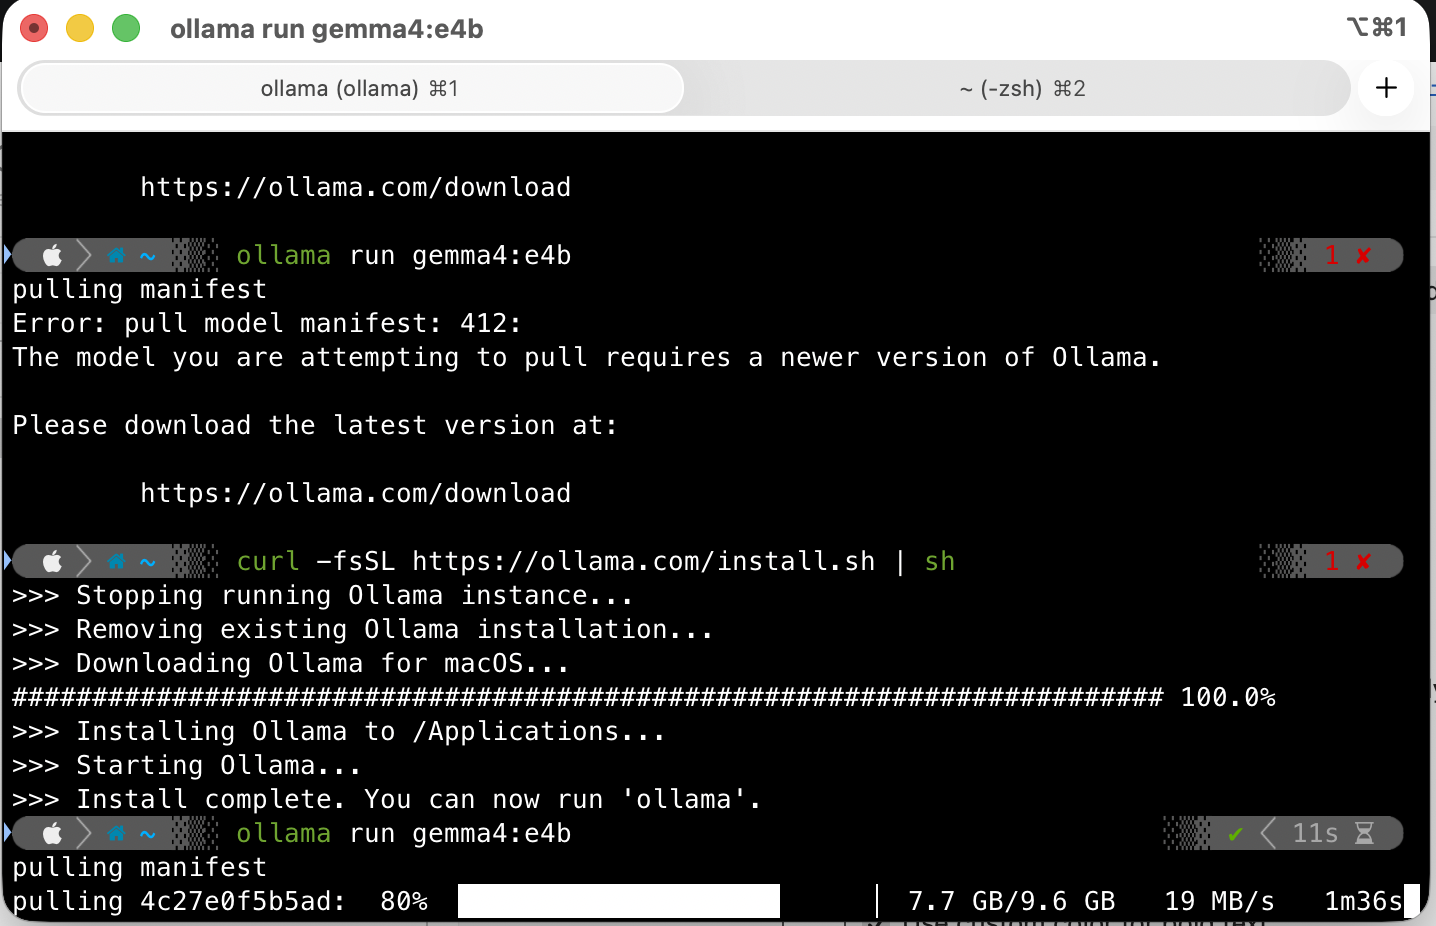
It will ask if you want to change your default shell to zsh — say yes. After it finishes, your terminal will already look a little different.
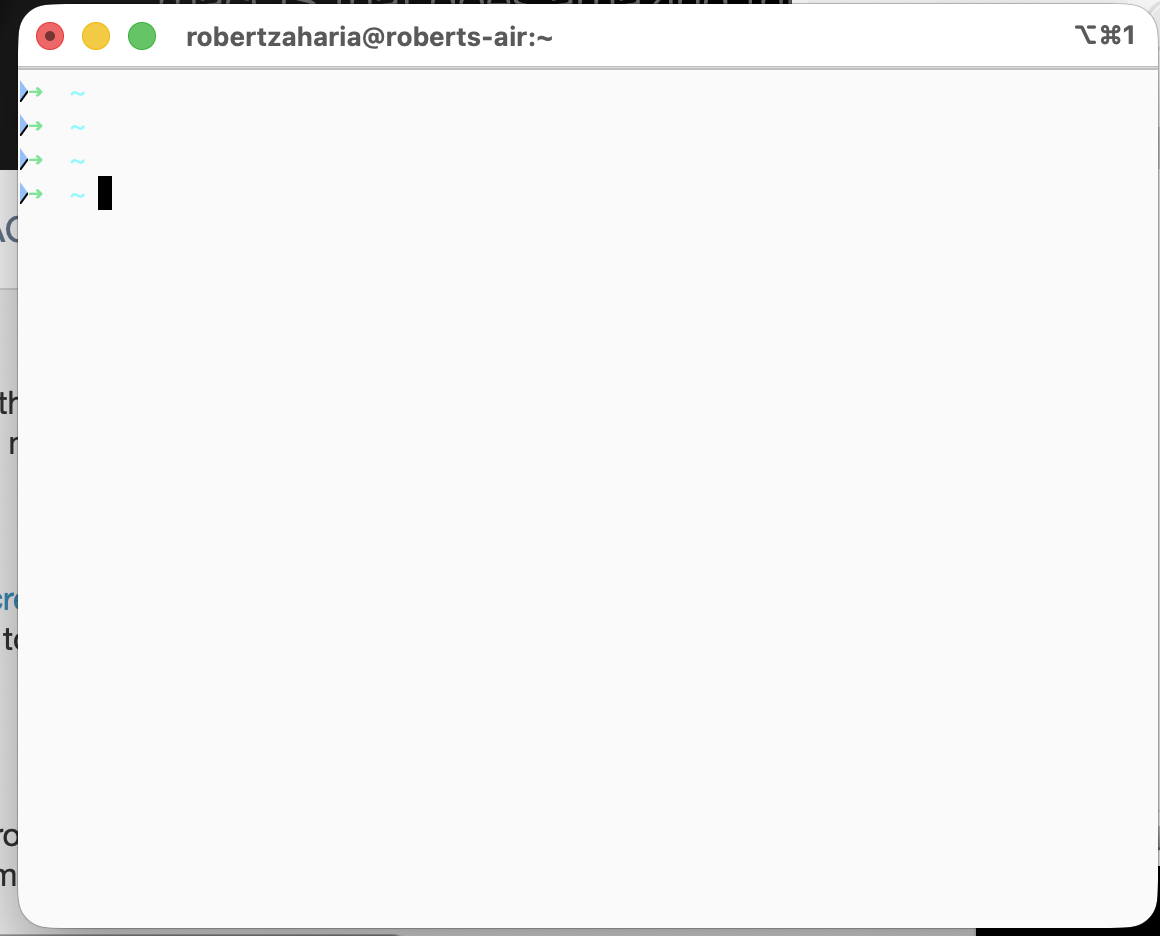
After installing Oh My Zsh, the shell shows its welcome banner and a refreshed prompt with the new zsh environment.
 ---Step 4: Install the MesloLGS NF Font
Powerlevel10k needs a special font to render icons and symbols correctly. Install it via Homebrew:
brew install --cask font-meslo-lg-nerd-font
Then set it in iTerm2:
- Open iTerm2 → Settings (or
Cmd+,) - Go to Profiles → Text
- Click the font dropdown and search for MesloLGS NF
- Set the size to something comfortable, like 13 or 14
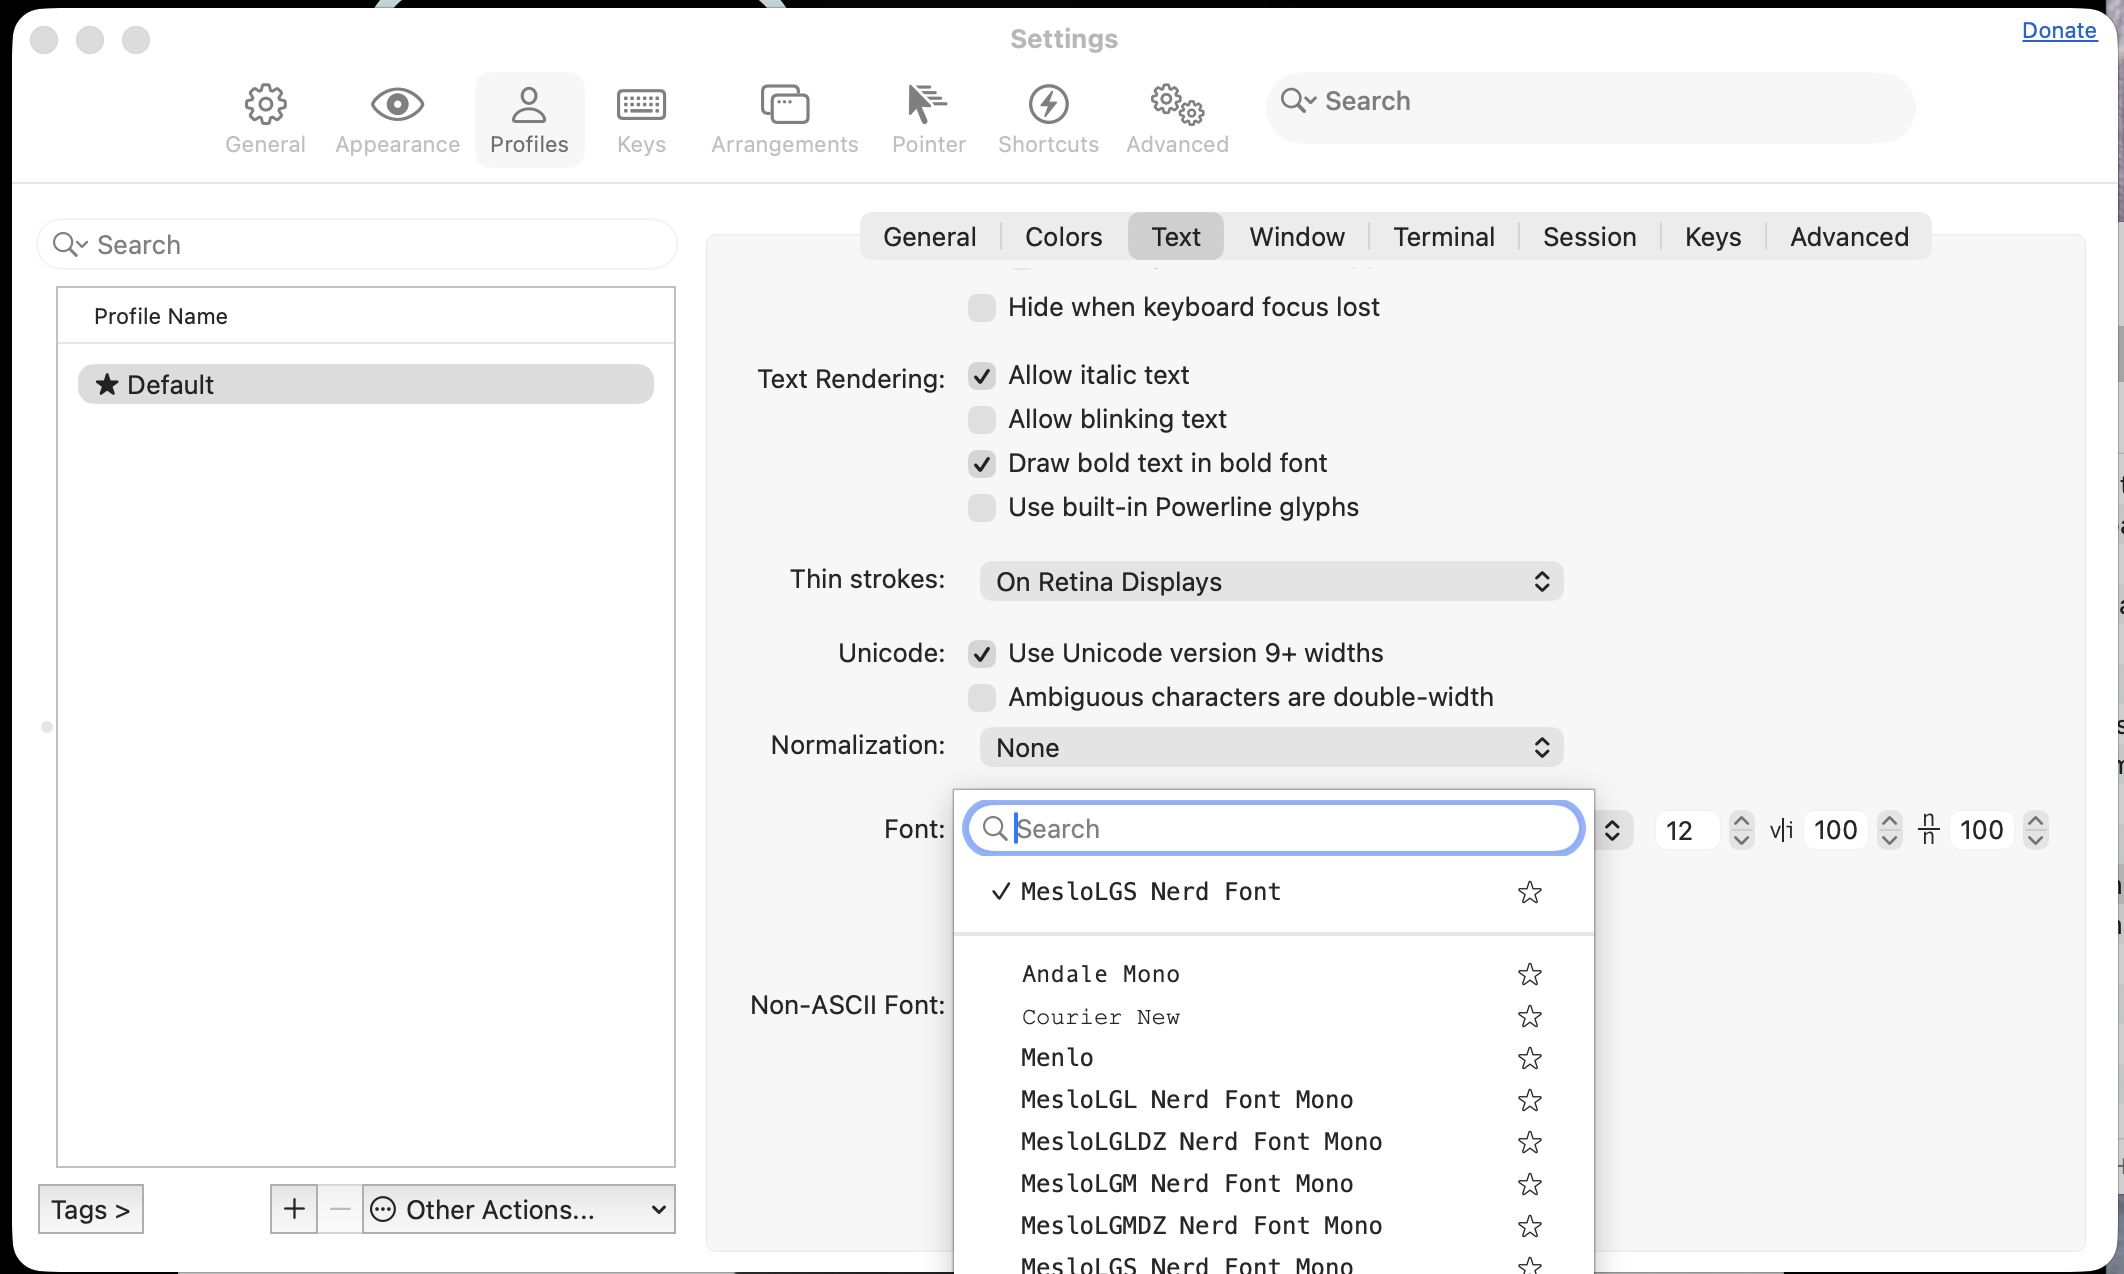
The font settings panel in iTerm2 with MesloLGS NF selected, which enables Powerlevel10k icons and glyphs.
Step 5: Install Powerlevel10k
git clone --depth=1 https://github.com/romkatv/powerlevel10k.git \
  ${ZSH_CUSTOM:-$HOME/.oh-my-zsh/custom}/themes/powerlevel10k
Now open your zsh config file:
nano ~/.zshrc
Find the line that says:
ZSH_THEME="robbyrussell"
And change it to:
ZSH_THEME="powerlevel10k/powerlevel10k"
Save with Ctrl+O, then Enter, then exit with Ctrl+X.
Apply the changes:
source ~/.zshrc
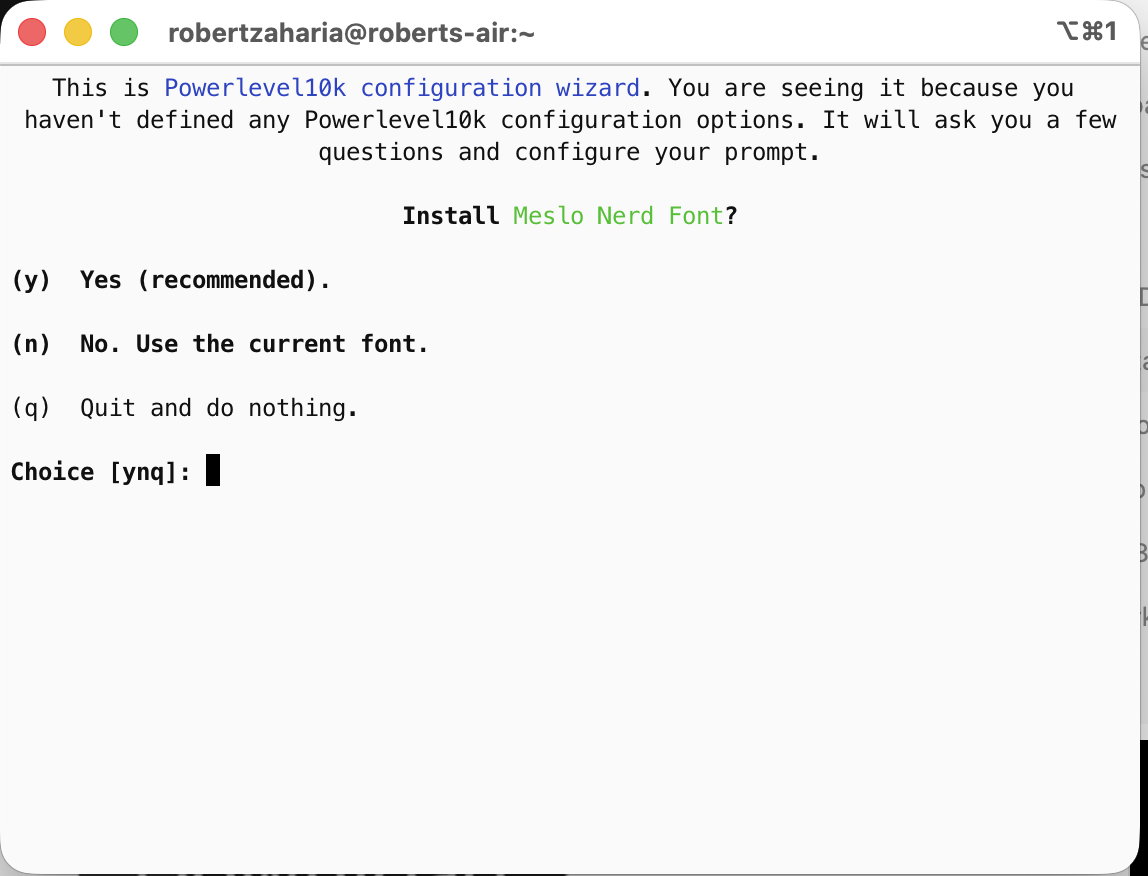
The Powerlevel10k configuration wizard will launch automatically. Follow the prompts — it will ask about icons, prompt style, colors, etc. Take your time, you can always re-run it later with p10k configure.
The Powerlevel10k configuration wizard in action, letting you choose icons, prompt style, and colors interactively.
This is the finished Powerlevel10k prompt, showing a compact, informative command line with git status and icons.

Step 6: Install the Plugins
zsh-autosuggestions
This shows ghost-text suggestions based on your history as you type. Press → to accept a suggestion.
git clone https://github.com/zsh-users/zsh-autosuggestions \
  ${ZSH_CUSTOM:-~/.oh-my-zsh/custom}/plugins/zsh-autosuggestions
zsh-syntax-highlighting
This colors your commands green (valid) or red (invalid) as you type them — before you even hit Enter.
git clone https://github.com/zsh-users/zsh-syntax-highlighting.git \
  ${ZSH_CUSTOM:-~/.oh-my-zsh/custom}/plugins/zsh-syntax-highlighting
Now enable both plugins. Open your config again:
nano ~/.zshrc
Find the line that says:
plugins=(git)
And change it to:
plugins=(git zsh-autosuggestions zsh-syntax-highlighting)
Save and apply:
source ~/.zshrc
zsh-autosuggestions and zsh-syntax-highlighting in action: grey suggestion text for history completions and color-coded command validity.

Step 7: Set Up Tabs and Profiles in iTerm2
This is where iTerm2 really shines over the default Terminal app. You can create different profiles for different environments — just like Windows Terminal.
Create a new profile
- Open iTerm2 → Settings → Profiles
- Click the + button at the bottom left
- Name it something like
LocalorWork - Customize its color scheme under the Colors tab — try one of the presets like Solarized Dark or Tango Dark
Open a new tab with a specific profile
- Press
Cmd+Tto open a new tab - Or go to Profiles in the menu bar and click the profile you want
A polished iTerm2 window with multiple tabs open so you can switch between shells, SSH sessions, or containers quickly.
Step 8 (Optional): Connect to a Remote Server or Docker Container
Just like Windows Terminal lets you open WSL alongside PowerShell, you can have a local shell in one tab and a remote environment in another.
SSH into a server:
ssh user@your-server-ip
Shell into a running Docker container:
docker exec -it your-container-name /bin/bash
Just open these in a new tab (Cmd+T) and you’ve got multiple environments in one window.
The End Result
You now have a terminal that:
- ✅ Has tabs for multiple sessions
- ✅ Shows git branch and status in your prompt
- ✅ Autocompletes commands from your history
- ✅ Color-codes commands before you run them
- ✅ Supports multiple environments (local, SSH, Docker) in one window
- ✅ Looks 🔥
Bonus: Making It Look Great in VSCode Too
If you open the integrated terminal in VSCode, you might notice the icons and prompt look broken or garbled. This is because VSCode uses its own font setting for the terminal, separate from iTerm2.
The fix is simple — just point VSCode to the same font.
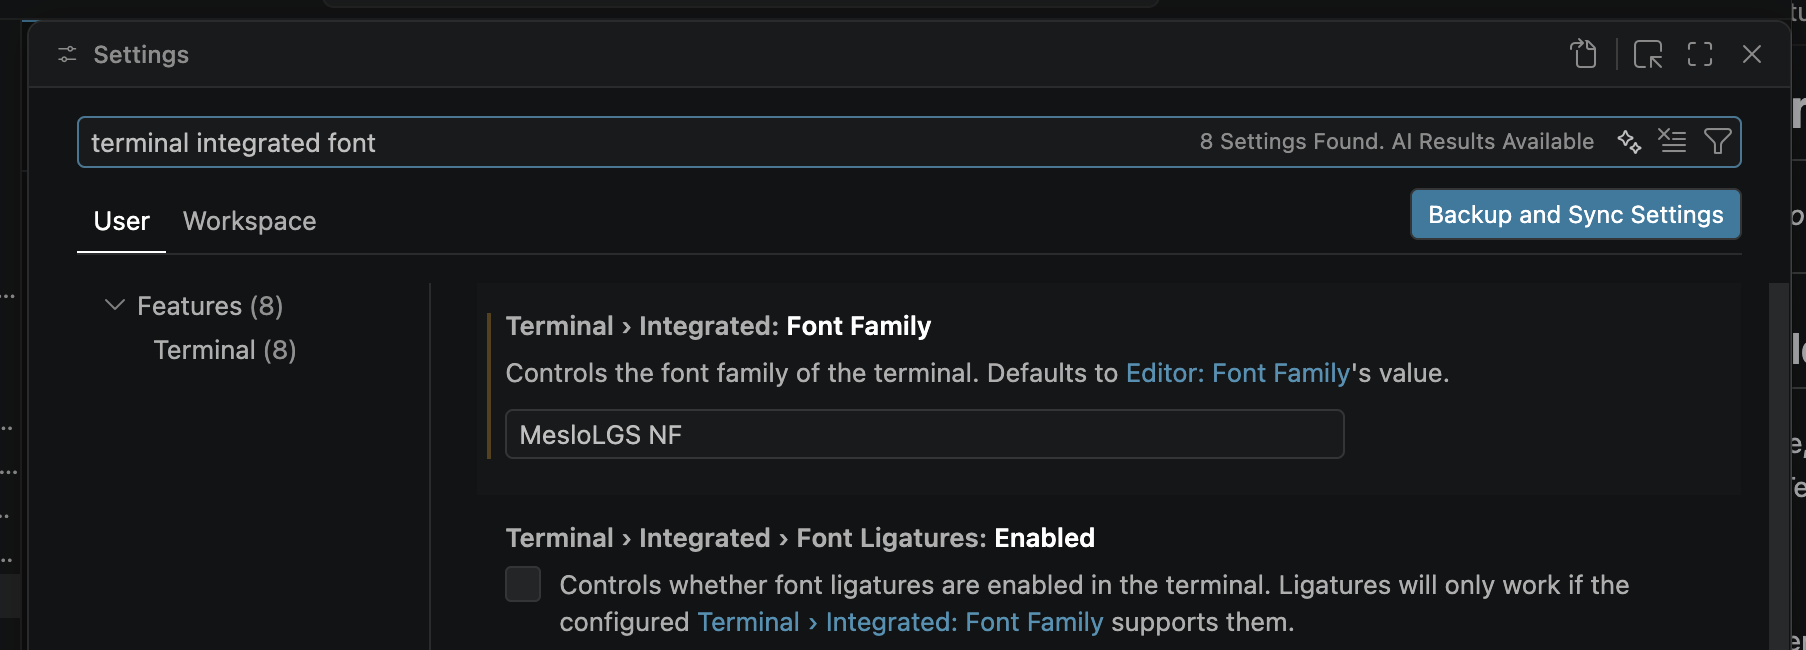
Set the font in VSCode
- Open VSCode → Settings (
Cmd+,) - Search for terminal font
- Find the setting called Terminal › Integrated: Font Family
- Set it to:
MesloLGS NF
The VSCode terminal font setting updated to MesloLGS NF, ensuring the integrated terminal displays Powerlevel10k icons correctly.
Alternatively, you can add it directly to your settings.json:
{
  "terminal.integrated.fontFamily": "MesloLGS NF"
}
To open settings.json directly, press Cmd+Shift+P, type Open User Settings JSON and hit Enter.
That’s it — your VSCode terminal will now render the same icons, colors, and prompt as iTerm2.
Useful Shortcuts to Remember
| Shortcut | Action |
|---|---|
Cmd+T | New tab |
Cmd+D | Split pane vertically |
Cmd+Shift+D | Split pane horizontally |
Cmd+] / Cmd+[ | Switch between panes |
Cmd+Number | Jump to tab by number |
→ arrow | Accept autosuggestion |
p10k configure | Re-run the Powerlevel10k wizard |